
 Recently I bought a pizzelle maker and I couldn't wait to break it in. I felt very ambitious and had visions of making all different flavors like anise, chocolate, citrus, cinnamon, orange and rum, almond and some even dipped in chocolate and then into nuts, oh yes and sprinkles for the kids! Well I didn't get all that far because making pizzeles are very time consuming!
I have a close friend Jean who can make these in her sleep! Pretty much every event in life like holidays, parties, funerals, or just a few girls getting together you can always count on Jean to bring her pizzelles. Pizzelle making is a true labor of love, you have to be patient, something I need to work on when baking or making cookies!
 I followed the recipes that came with my pizzelle maker because they're all basically all about the same, flour, butter, eggs, sugar and the flavorings of your choice. After I did one batch I was pretty much done! I called Jean for advice and she gave me some good tips, like don't be in a hurry, allow a couple of hours, sit down and watch TV while your making them. My recipe said to drop a tablespoon of batter behind the center of the pattern, I did that and they were too big, batter was oozing out the sides and running into each other, I was ready to give up they looked terrible! Jean said to use a heaping teaspoon of the batter ( which comes out pretty thick) and place it in the center, I did what she said and they turned out great!
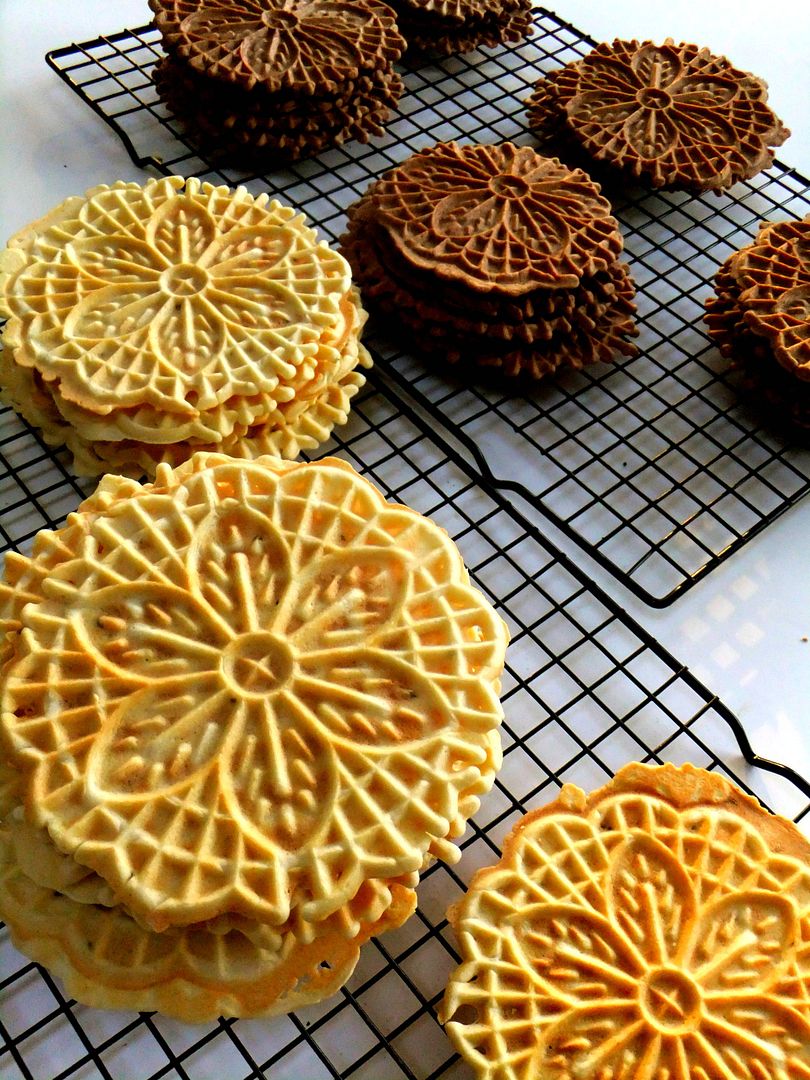
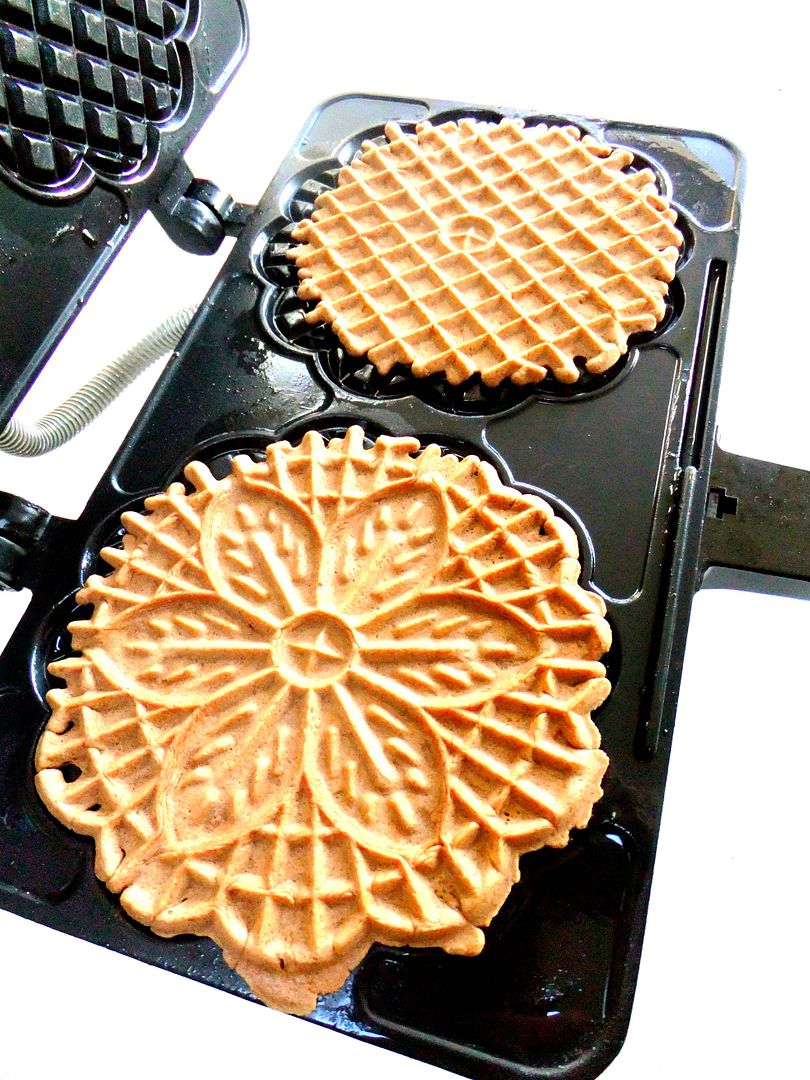 I've always loved the the designs on pizzelle irons, they make beautiful crispy wafer cookies and always look gorgeous on a platter.
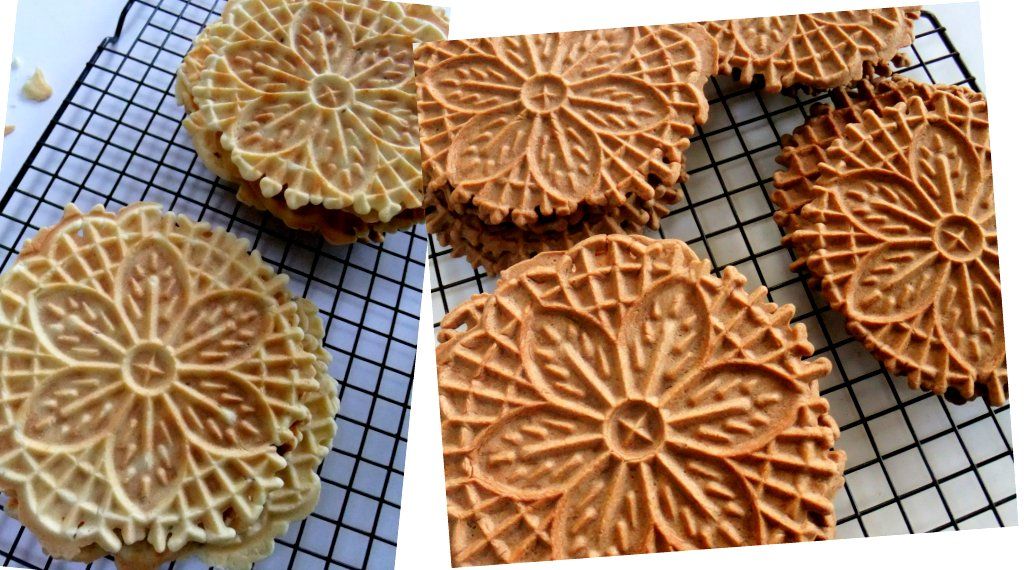 Right now I'm hiding these in a big tin and plan to bring them out as part of our Thanksgiving Day dessert. I made traditional anise flavor and chocolate ones as well.
 I made the sprinkled kind for my two granddaughters simply by taking the heaping teaspoon of dough and rolling it into a bowl of sprinkles right before you place the ball of batter on the iron. My advice is to do the sprinkle ones last so that you won't find any tiny sprinkles on your other flavors.
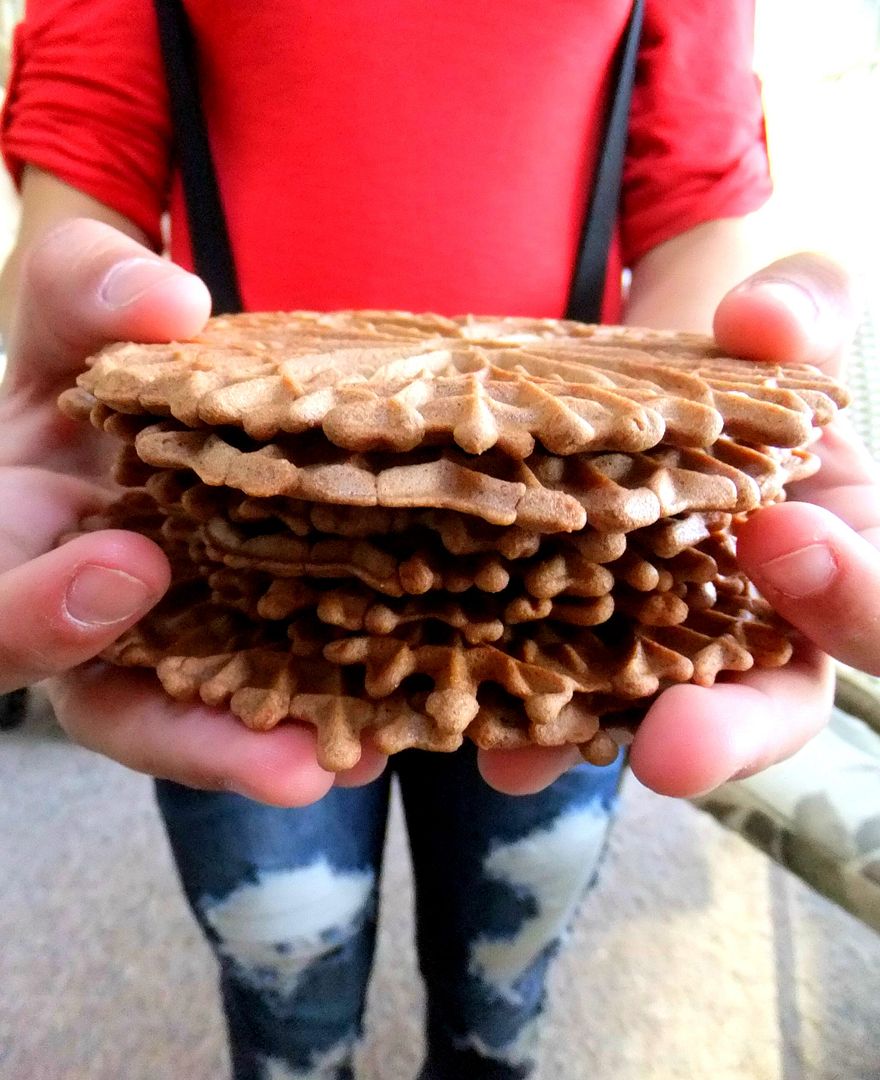 My oldest granddaughter was off of school the day I made these so she taste tested a few and gave me thumbs up all the way, so did her dad!
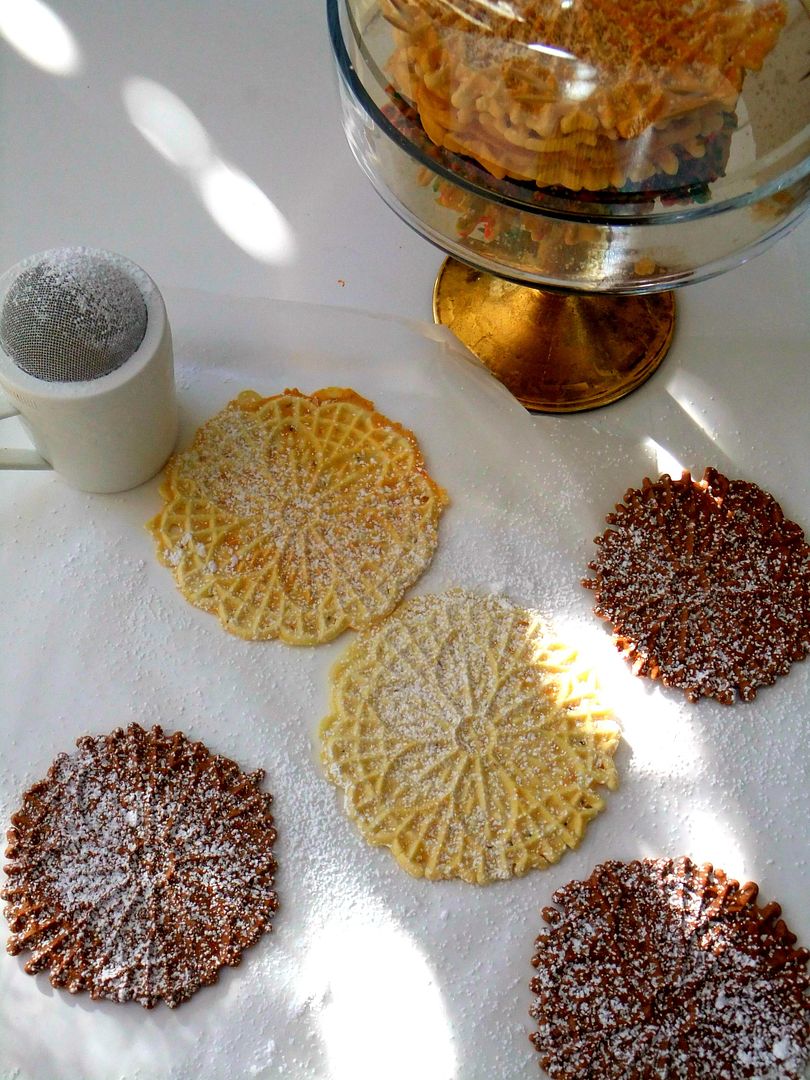 Jean says don't powder sugar them until the day you're going to eat them, if you have a cool place store them in a can, they last for weeks and still stay crispy, no need to freeze.
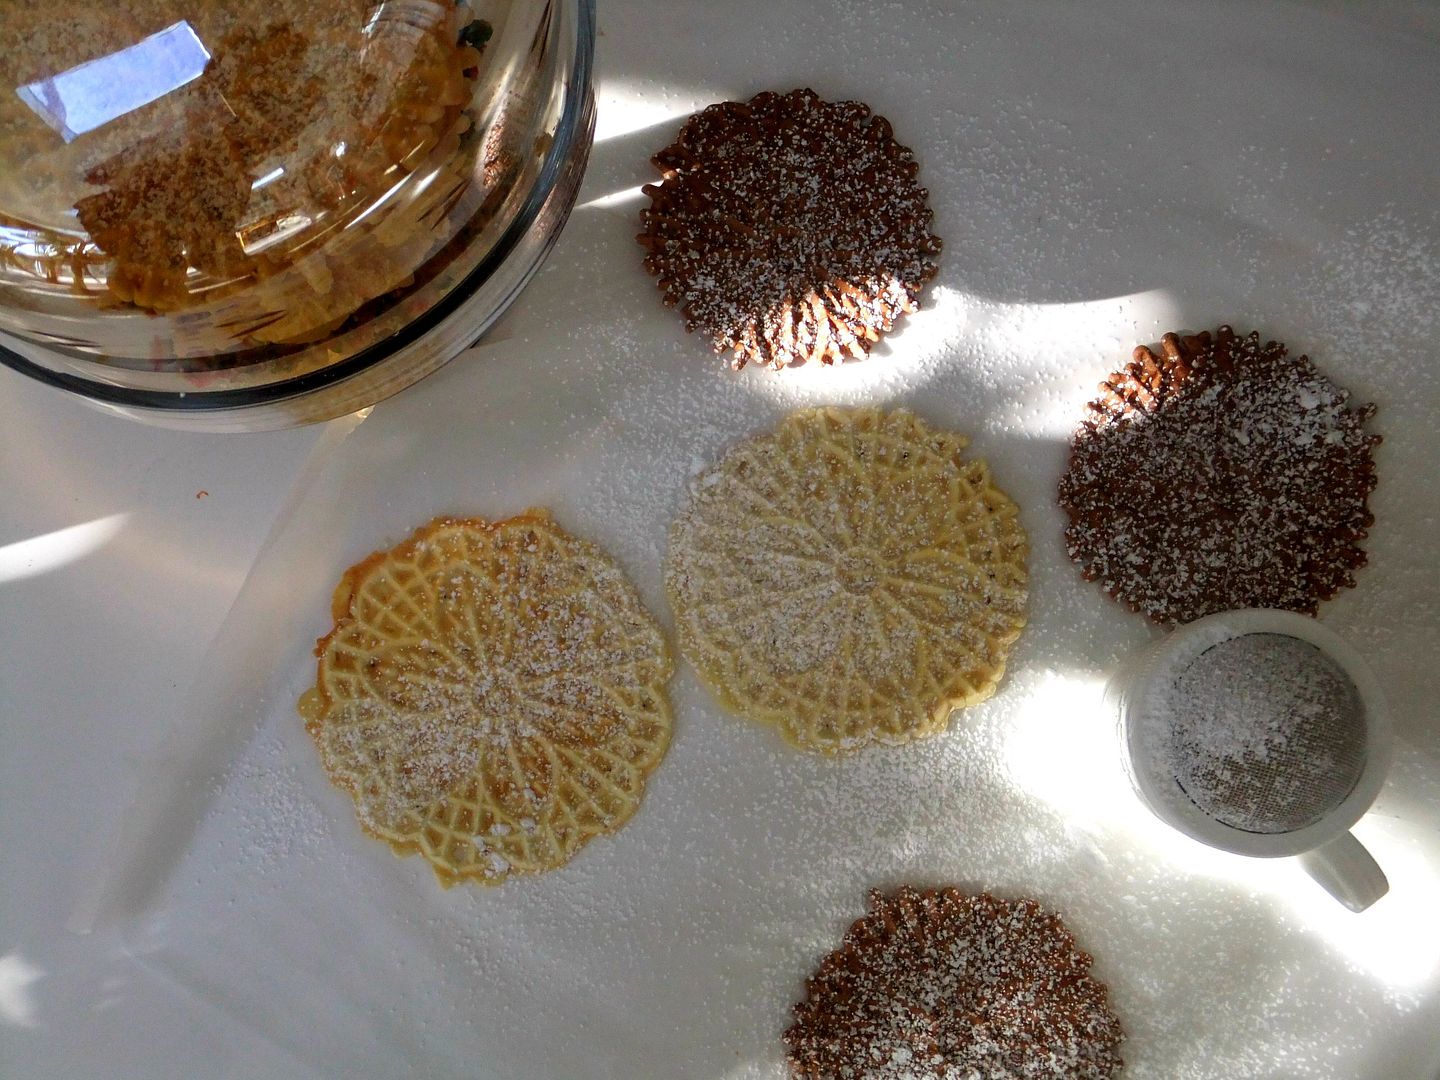 Here's the basic recipe with variations:
6 eggs** 1 cup of sugar** 1 cup of melted butter** ( Jean says you can use canola oil if you want in place of the melted butter) **2 teaspoons vanilla** 3 cups flour** 1 tablespoon baking powder**
( For anise flavor add 1 teaspoon of anise seeds and 2 teaspoons of anise extract) if you use pure anise oil, use much less like 1/2 teaspoon or a teaspoon.
( For chocolate flavor add 1/2 cup of cocoa powder)
Melt butter and set aside. Beat eggs and sugar until light yellow, 2-3 minutes. Add melted butter and vanilla or other flavorings. Beat until blended. Sift together the ingredients, fold until just blended, add remaining flour and fold again until just incorporated.
Heat pizzelle iron, place 1 heaping teaspoon of batter in center of pattern. Bake until golden brown, about 30-40 seconds. Remove and cool on a rack. Repeat with remaining batter. This could make six dozen depending on how deep your grooves are on your iron. ( Jean triples this, if you're going to do it you might as well make a bunch!)
Happy Thanksgiving to all!


